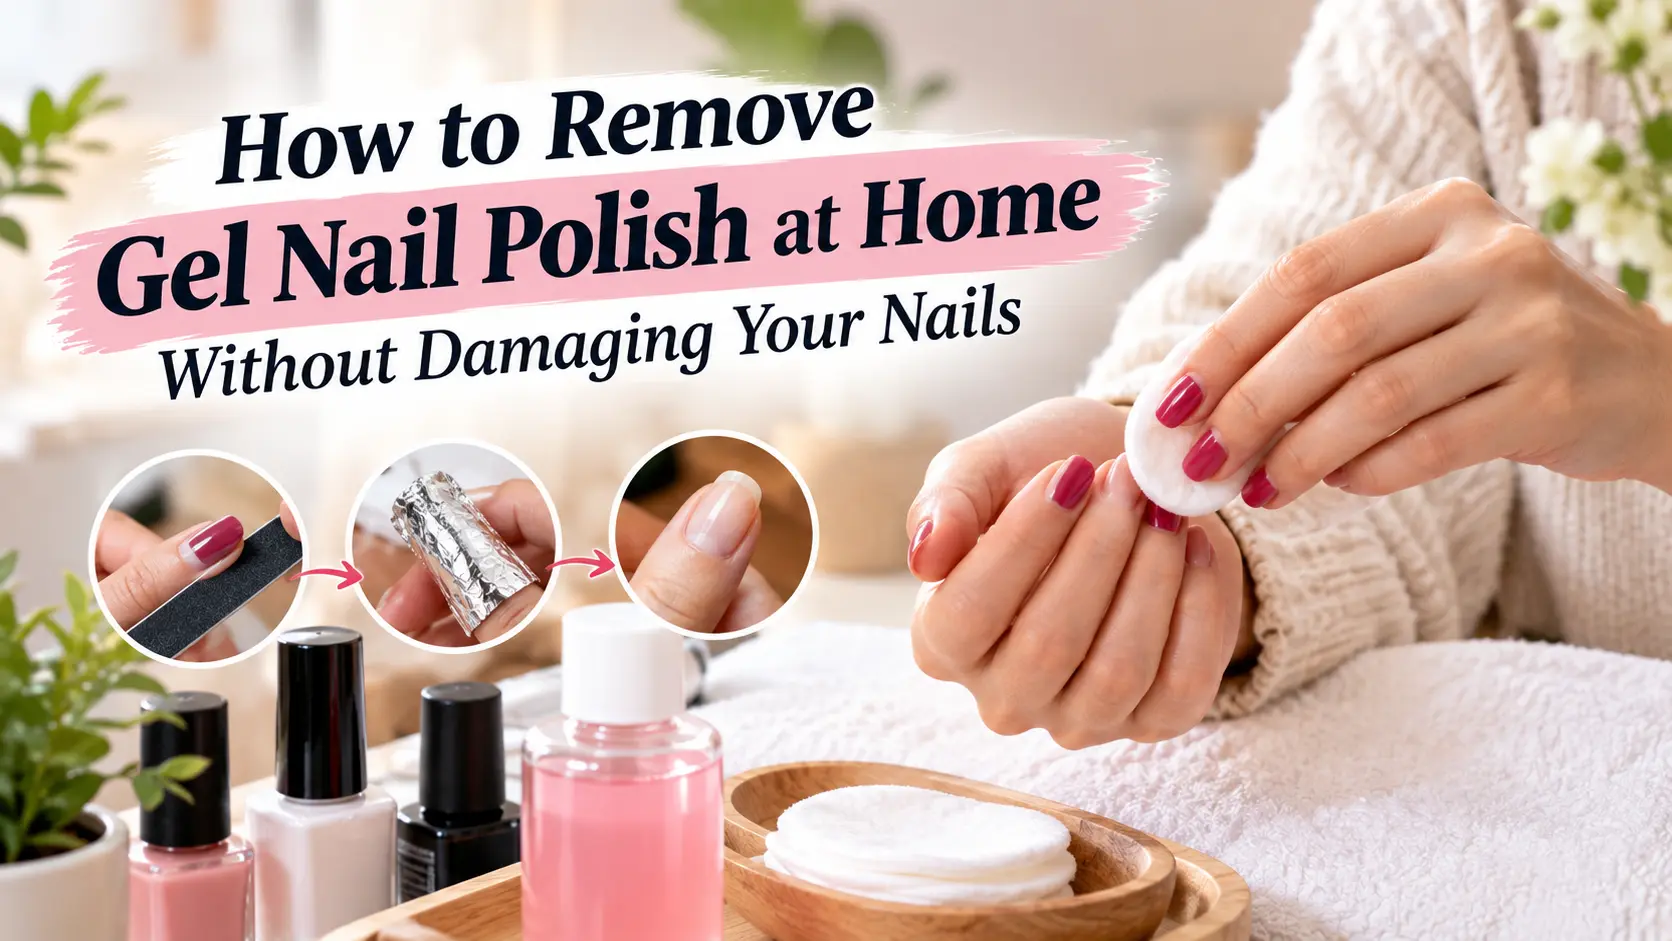
You know the feeling. A couple of weeks have passed, your gel has grown out and a lifted edge keeps catching on things. You may feel tempted to just peel it off.
Try not to. Peeling gel can take layers of your natural nail with it, leaving your nails feeling thin and weak.
The good news is that removing gel polish at home doesn't have to be difficult. With the right method and a little patience, you can remove it more gently.
In this guide, we'll cover how to remove gel nail polish at home, including ways to remove it without acetone, what to do with stubborn glitter or cat-eye gel and how to care for your nails afterwards.
Why Gel Polish Is So Stubborn
Regular nail polish is easy to remove because it simply dries on the nail. A little remover can dissolve it quickly.
Gel polish is different. It cures under a UV or LED lamp, creating a hard layer that stays on your nails for weeks. That's why it doesn't come off as easily.
The good news is that you usually only need two simple steps:
File the shiny top layer to break the seal.
Soak the gel with acetone so it can soften and lift.
If you skip one of these steps, the gel may take much longer to come off. So don't rush it—a little patience makes removal much easier and helps protect your natural nails.
What You'll Need
Get everything ready before you start. It makes the removal process much easier.
100% pure acetone — regular nail polish remover may not work as well.
Cotton pads or cotton balls — cut them into small pieces for each nail.
Aluminium foil — cut into 10 small squares or use reusable soak-off clips.
Nail file — around 100/180 grit works well for removing the top layer.
Wooden cuticle stick — for gently lifting softened gel.
Soft nail buffer — for smoothing the nail afterwards.
Cuticle or jojoba oil — helps moisturize your nails and cuticles.
Hand cream or balm — useful after removal.
Petroleum jelly — optional, but helpful for protecting the skin around your nails.
Quick tip: Work in a well-ventilated area when using acetone, especially if you're using a larger amount.
Method 1: Foil Wrap Soak-Off
This is a common and gentle way to remove gel polish at home. Set aside about 30 minutes and don't rush the process.
Step 1: File Off the Shine
Gently file the shiny top layer until the nail looks dull and matte.
You only need to remove the top coat. Don't file down to your natural nail.
Step 2: Protect Your Skin
Apply a little petroleum jelly or thick hand balm around your nails. Try to keep it off the nail itself.
This helps protect your skin from the drying effect of acetone.
Step 3: Add Acetone and Wrap
Soak a small piece of cotton in 100% acetone and place it over your nail.
Wrap the fingertip tightly with aluminium foil to keep the cotton in place. Do one hand at a time so it's easier to work.
Step 4: Wait 10–15 Minutes
Leave the wraps on for about 10–15 minutes.
Try not to remove them too early. The gel needs time to soften.
Step 5: Remove the Wraps
Gently twist and remove the foil and cotton.
The gel should look soft, lifted or wrinkled. Don't pull off anything that is still firmly attached.
Step 6: Gently Remove the Gel
Use a wooden cuticle stick to gently push the softened gel toward the nail tip.
If it doesn't come off easily, stop. Wrap the nail again for another 5 minutes instead of scraping or forcing it.
Step 7: Wash and Moisturize
Once the gel is off, gently smooth away any leftover residue with a soft buffer.
Wash your hands, then apply cuticle oil and hand cream to restore moisture.
Method 2: The Bowl Soak
This method skips the foil, but your fingertips stay in acetone, so it can be more drying to your skin.
How to Do It
File off the shiny top layer of the gel first.
Pour acetone into a small glass or ceramic bowl.
Soak your fingertips for about 10–15 minutes.
When the gel softens, gently push it off with a wooden cuticle stick.
If the gel is still stuck, soak for a few more minutes instead of scraping it.
Important: Never heat acetone directly or use an open flame. Avoid plastic containers, as acetone can damage some plastics.
Method 3: How to Remove Gel Nail Polish Without Acetone
Don't have acetone? You still have a few options. Just remember that acetone-free removal usually takes longer, so don't try to speed things up by peeling or scraping.
Can You Remove Gel Nail Polish Without Acetone?
Some gel products can be carefully filed down, but this takes time and it's easy to accidentally file your natural nail. If you're not experienced, professional removal is a safer option.
Carefully File It Down
You can slowly file away the gel with a 180-grit file, but be very careful.
Use light pressure and check your nail often. Stop before you reach your natural nail. If you feel heat, soreness or notice your natural nail changing, stop filing.
For any thin leftover layer, use a soft buffer rather than continuing with a coarse file.
What About Vinegar, Lemon or Oil?
You may see these methods recommended online, but they aren't reliable ways to remove cured gel.
Instead of spending a long time trying random home remedies, use a proper removal method and avoid peeling or forcing the gel off.
Removing Glitter, Cat Eye and Dark Gel Polish
Some gel shades can take a little longer to remove. Glitter, cat-eye and dark colors may need extra time and patience.
Try these simple adjustments:
File the top layer well so the acetone can reach the gel underneath.
Soak for 15–20 minutes instead of stopping too early.
If some gel is still stuck, re-wrap the nail and give it more time.
Don't scrape or force it off. Let the gel soften first.
Quick tip: Thick layers of gel can take longer to remove. Taking your time during removal is much safer than trying to peel everything off quickly.
Mistakes That Damage Nails (And What to Do Instead)
Peeling or picking: Pulling off gel can remove layers from the surface of your natural nail, leaving it rough or weak.
Scraping unsoftened gel. If you have to press, it isn't ready. Re-soak.
Using an e-file without training: Electric files can remove too much of the natural nail if used incorrectly. If you're not trained, it's better to leave e-file removal to a professional.
Using the wrong remover: Regular remover may not work well on cured gel. Acetone is commonly used for soak-off gel because it can soften the product more effectively.
Filing the natural nail after removal. By this point the surface is temporarily soft. Buff lightly or not at all.
Going straight into a new set: If your nails already feel thin, rough or sore, give them a break before applying another gel set.
How to Care for Your Nails After Removal
Your nails may feel a little soft or rough after removing gel polish. This is usually temporary, so give them some extra care.
Day 1: Apply cuticle or jojoba oil a few times during the day, then use hand cream to keep your hands and nails moisturized.
Days 2–7: Keep using nail oil twice a day, morning and night. Wear gloves when washing dishes or cleaning and keep your nails trimmed so they don't snag or break.
Going forward: If your nails still feel weak, you can try a gentle nail treatment. Avoid very strong hardeners if they make your nails feel dry or brittle.
Our suggestion: If possible, give your nails a few days of rest before applying another gel manicure. A little break can make your nail-care routine easier and more comfortable.
The Easier Fix: Start With a Gentler Gel
Want easier gel removal? Start with the right gel polish and apply it properly.
Thick layers can take longer to remove and may tempt you to scrape or peel them. Thin coats and proper curing can make removal much easier.
It's also a good idea to check the ingredients. HEMA can cause skin irritation or allergies in some people, while TPO has been restricted in some places. If you prefer, you can look for HEMA-free and TPO-free gel polishes.
Here are a few options worth checking out:
1. Vintage Cocoa Series Gel Polish
A collection of soft brown and warm neutral shades. It's a good choice if you prefer simple colors that work with many different outfits.
Pros:
HEMA-free and TPO-free
Warm neutral shades
Easy choice for everyday nails
Designed for thin application
Cons:
Neutral colors may not suit everyone
Shade selection is more limited if you want bright colors
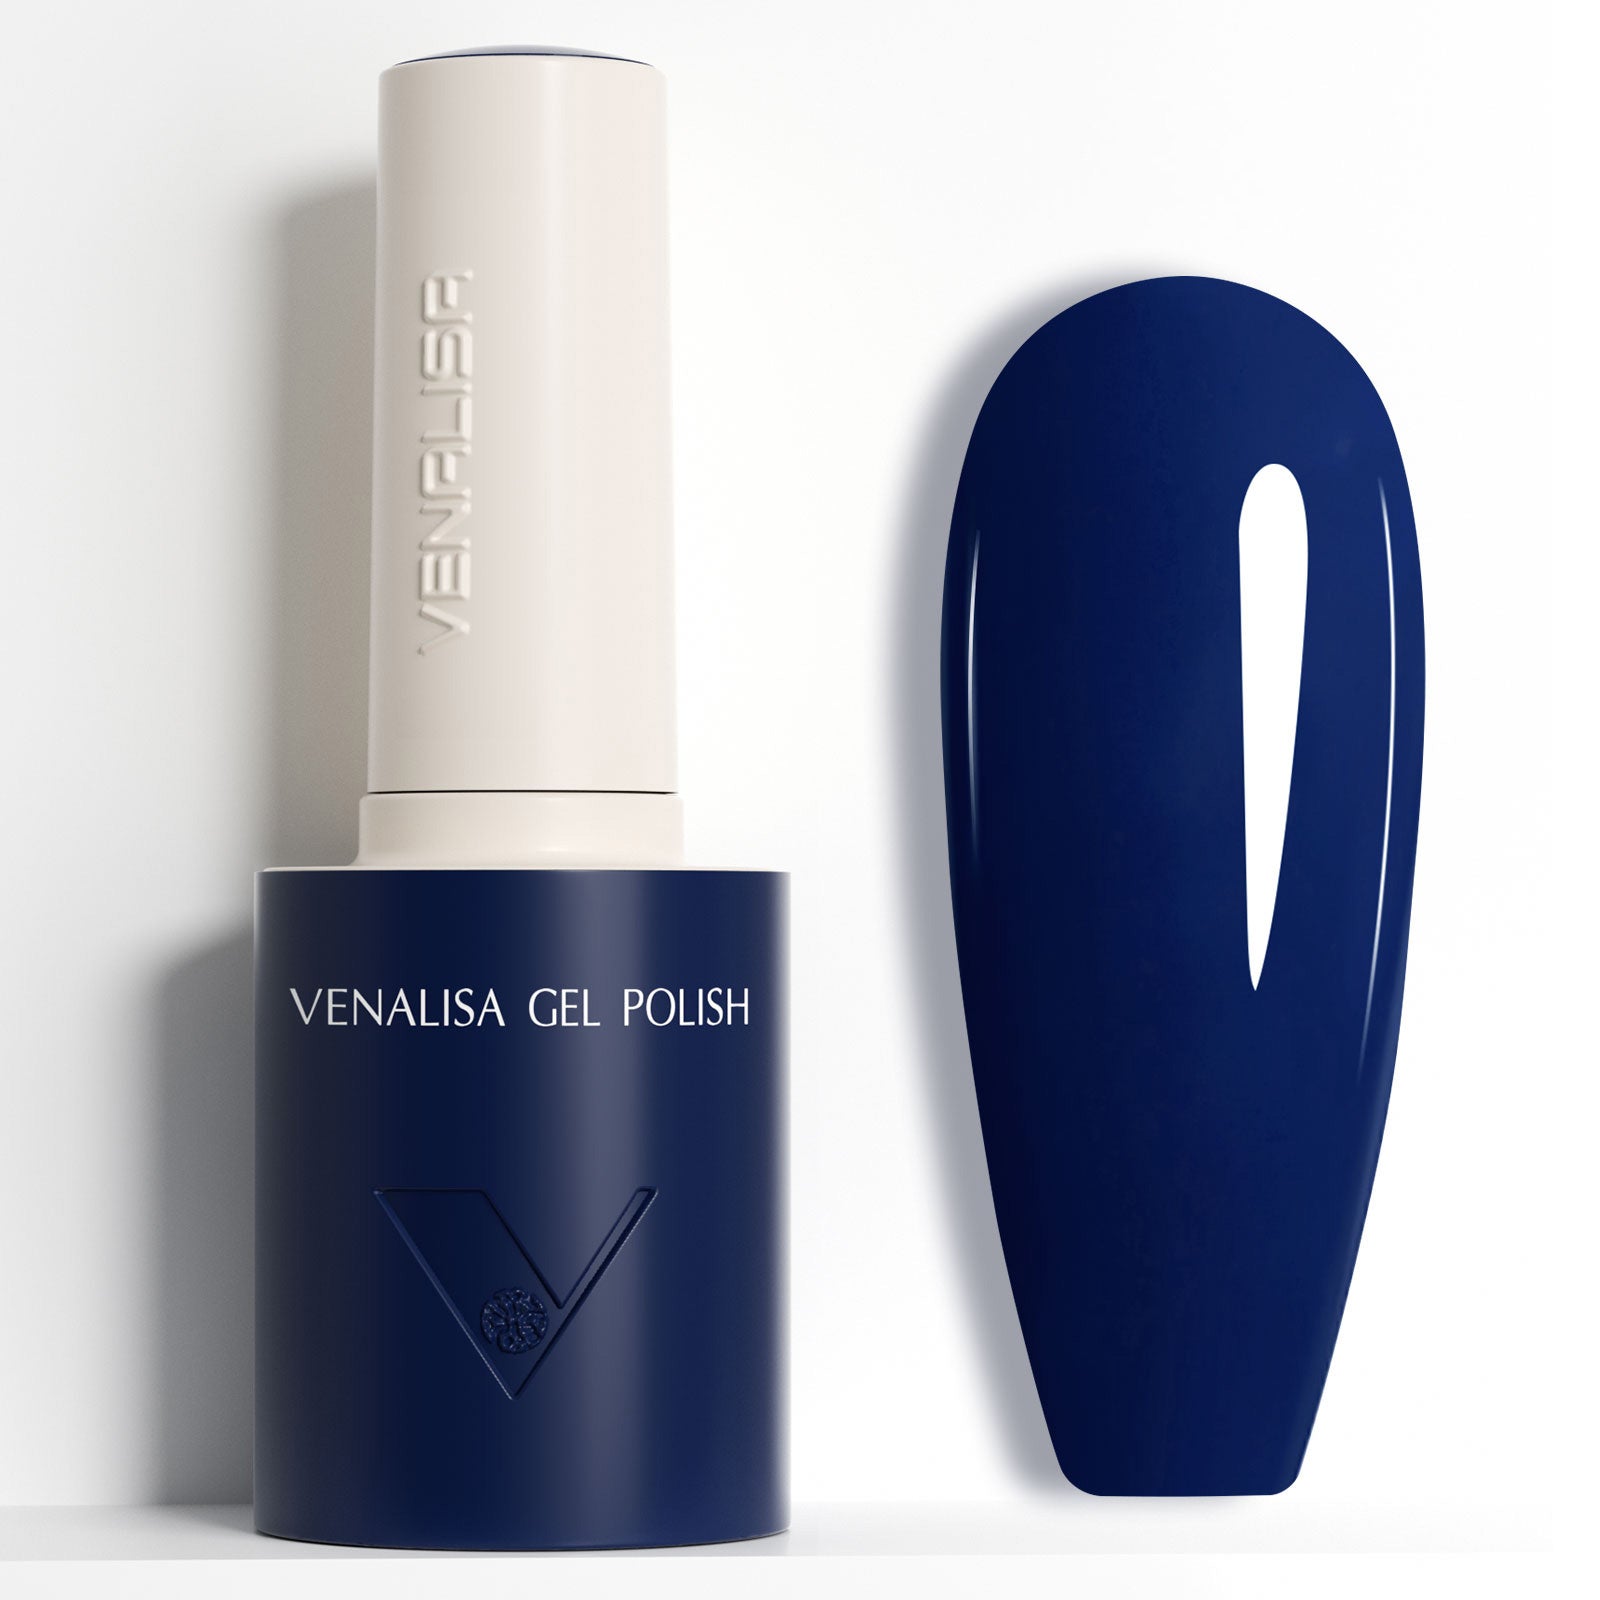
VENALISA 10ML Gel Polish – Vintage Cocoa Series
A warm cocoa-toned gel polish with a soft vintage feel, ideal for creating simple and elegant manicure looks.
2. Red Colors Gel Polish
If you like classic red nails, this collection offers several red shades. The goal is simple: get good coverage without needing too many thick layers.
Pros:
HEMA-free and TPO-free
Classic red shades
Good option for bold nail looks
Thin coats can make removal easier
Cons:
Mostly focused on red shades
Some colors may need more than one coat
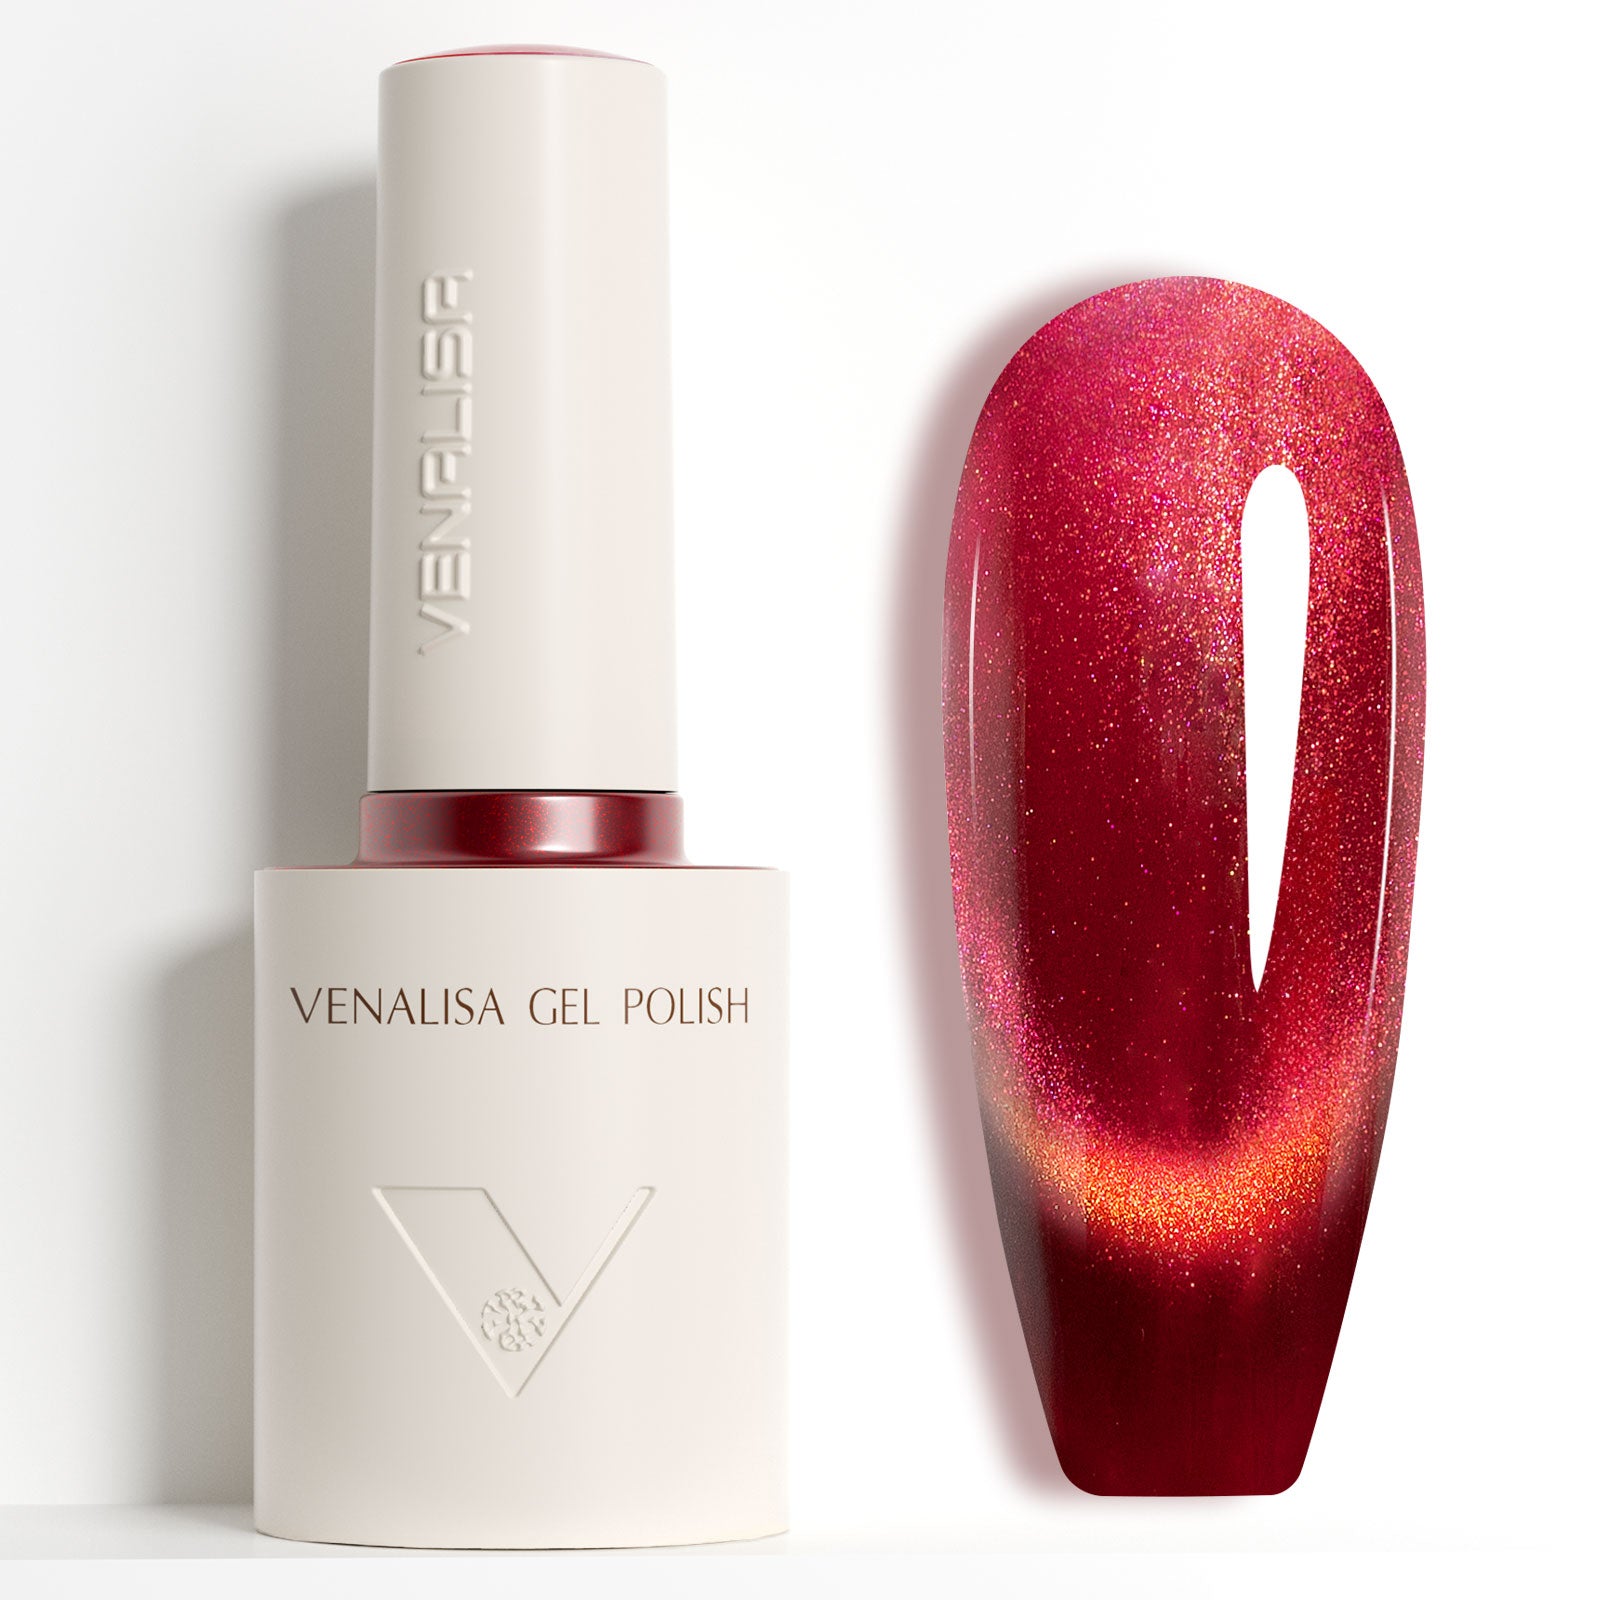
VENALISA 10ML Gel Polish – Red Colors
A collection of red gel polish shades for classic, bold, and eye-catching manicure styles.
3. Cat Eye Gel Polish
Want something more eye-catching? Cat-eye gel polish creates a magnetic effect that changes as the light moves across the nail.
Pros:
HEMA-free and TPO-free
Unique magnetic effect
Good for creative nail looks
Can be applied in thin layers
Cons:
Takes a little practice to create the magnetic effect
More work than a basic one-color manicure

VENALISA 10ML Cat Eye Gel Polish
A magnetic-effect gel polish designed to create a reflective cat-eye style manicure with a dimensional finish.
When You Should See a Professional Instead
Book a salon removal or see a doctor if you notice:
Green or unusual discoloration under the nail: This can sometimes happen when moisture gets trapped under lifted product and may need professional assessment.
Pain, throbbing, swelling or pus around the nail fold
Persistent itching, redness or blistering: These can be signs of a reaction to a nail product, so consider getting medical advice.
The nail separating from the nail bed
Very thin, painful nails after repeated sets
The Short Version
File off the shine, soak in pure acetone for 10 to 15 minutes under a sealed foil wrap, push the softened gel away gently and re-soak anything that resists instead of forcing it. Then oil, oil again and give your nails a few days off.
With careful removal and a little aftercare, you can reduce the chance of unnecessary nail damage and keep your nails feeling healthier.
Frequently Asked Questions
It can take around 20–40 minutes or longer, depending on the type of gel and how easily it softens. Glitter, cat-eye, and dark shades may need extra soaking time.
Some types of gel may be filed down carefully, but removing cured gel without acetone can be difficult and may increase the risk of filing your natural nail. If you're unsure, professional removal is a safer option.
Proper removal can help reduce the risk of damage. Peeling, scraping, or aggressive filing can make nails rough, thin, or weak. Acetone can also leave nails and skin feeling dry, so use nail oil and hand cream afterwards.
It's better not to. Peeling can remove layers from the surface of your natural nail and leave it rough or weak. If the gel won't lift easily, soak it again instead of forcing it.
Regular nail polish remover may not work well on many types of cured gel. Soak-off gel is commonly removed with acetone, which helps soften the product before it is gently pushed away.
There's no single waiting time for everyone. If your nails feel healthy, you can follow the instructions for your next manicure. If they feel thin, sore, or damaged, give them a break until they feel better.
The gel may need more soaking time, or the top layer may not have been filed enough. Make sure the cotton is fully soaked and the wrap stays securely in place. If the gel still won't move easily, re-soak it instead of scraping or forcing it off.